
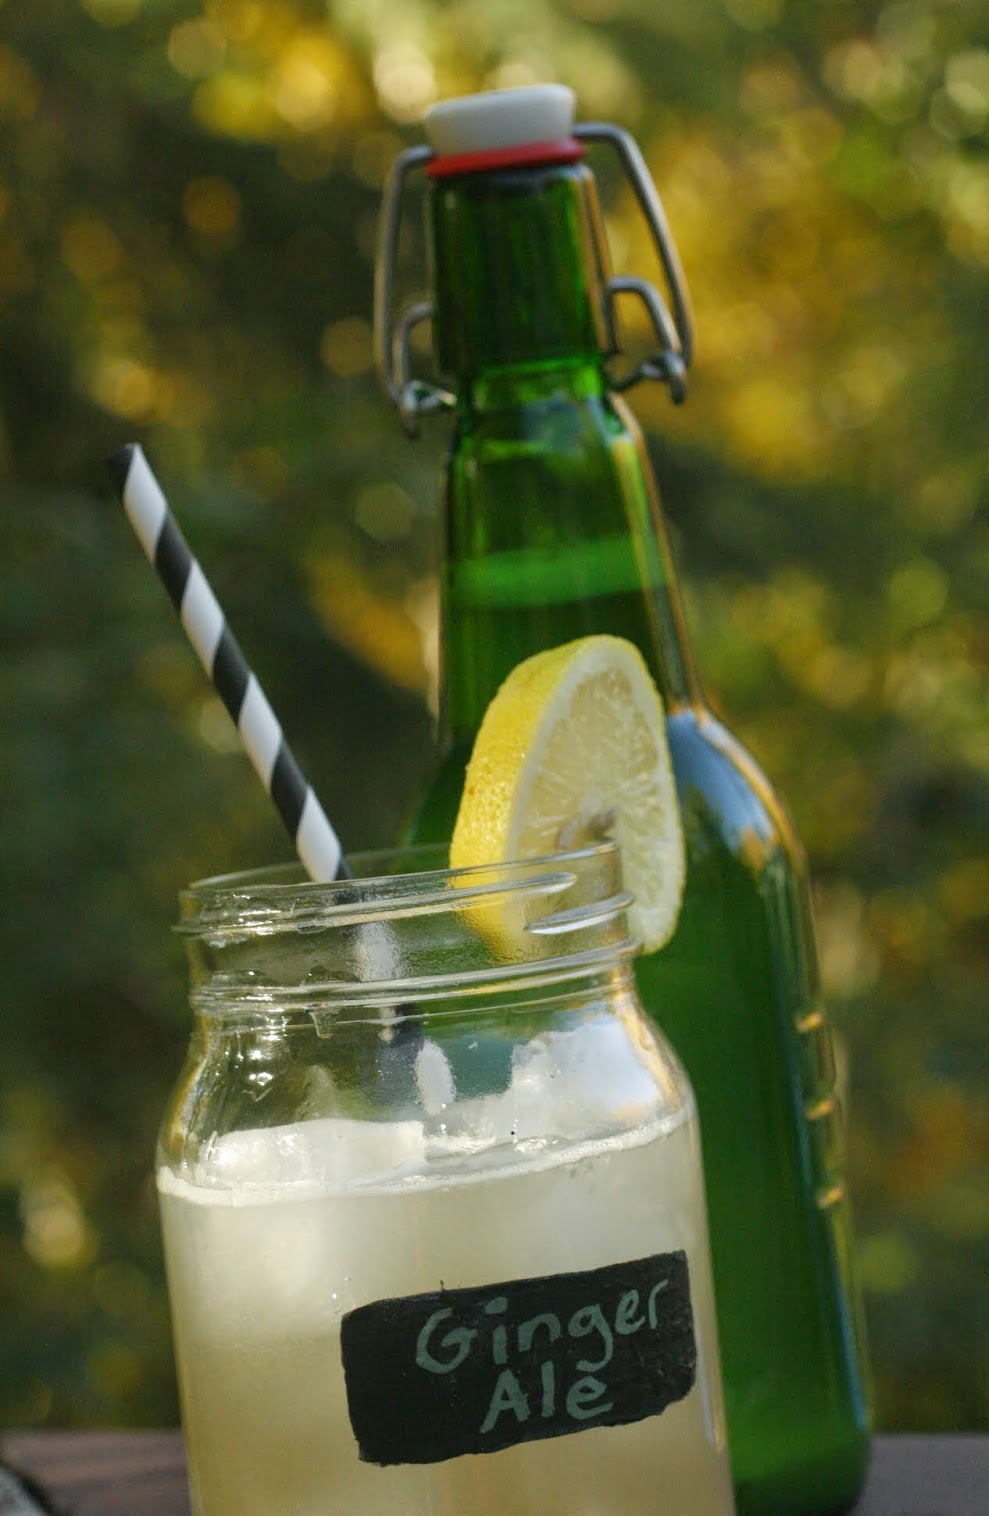
Homemade Ginger Ale That's Good For The Gut

Yay! So hopefully you have successfully made your ginger bug. Possibly even named your new little friend. Or at least you've talked to him and encouraged the little fella. Every little bug needs a chat now and then. Anyway. How you raise your bug is none of my business. I'm just here to tell you how to mature him and make him into something drinkable, delicious, and nutritious!
If you put your bug in the fridge, bring him out and add:
2 teaspoons chopped or grated ginger
2 teaspoons sugar
Mix well, cover it back up and leave him on the counter. I find it sometimes takes 2-3 feedings for him to be ready. Just depends on how long he sat in the fridge without a feeding, temperature of the room, etc. My method is to take him out the night before I want to make some homemade soda, feed him once that night and then again in the morning. If the bubbles are still not very lively I will feed him again later in the day. Hopefully he should be ready. If not, don't get mad at the little bug, just be patient and continue to feed him again the next day. Remember to stir well 2-3 times a day!! If you need a real step-by-step here it goes: (You do this only if you are taking your bug from the fridge. If you just made the bug and want to immediately make the ale, then you won't need to follow these steps.)
Day one PM: take bug out of fridge, add 2 tsp each of ginger and sugar. Stir well. Leave covered on counter
Day two AM: check for bubbles. If not vigorously bubbling add 2 tsp. each of ginger and sugar. Stir well.
Day two noon: check for bubbles. Stir well.
Day two PM: check for bubbles. If not vigorously bubbling add 2 tsp. each of ginger and sugar. Stir well.
Keep this routine up until you have sufficient bubbles. Ideally it should not take more than two days. But all bugs have different needs. Once you have some bubbles the fun begins!
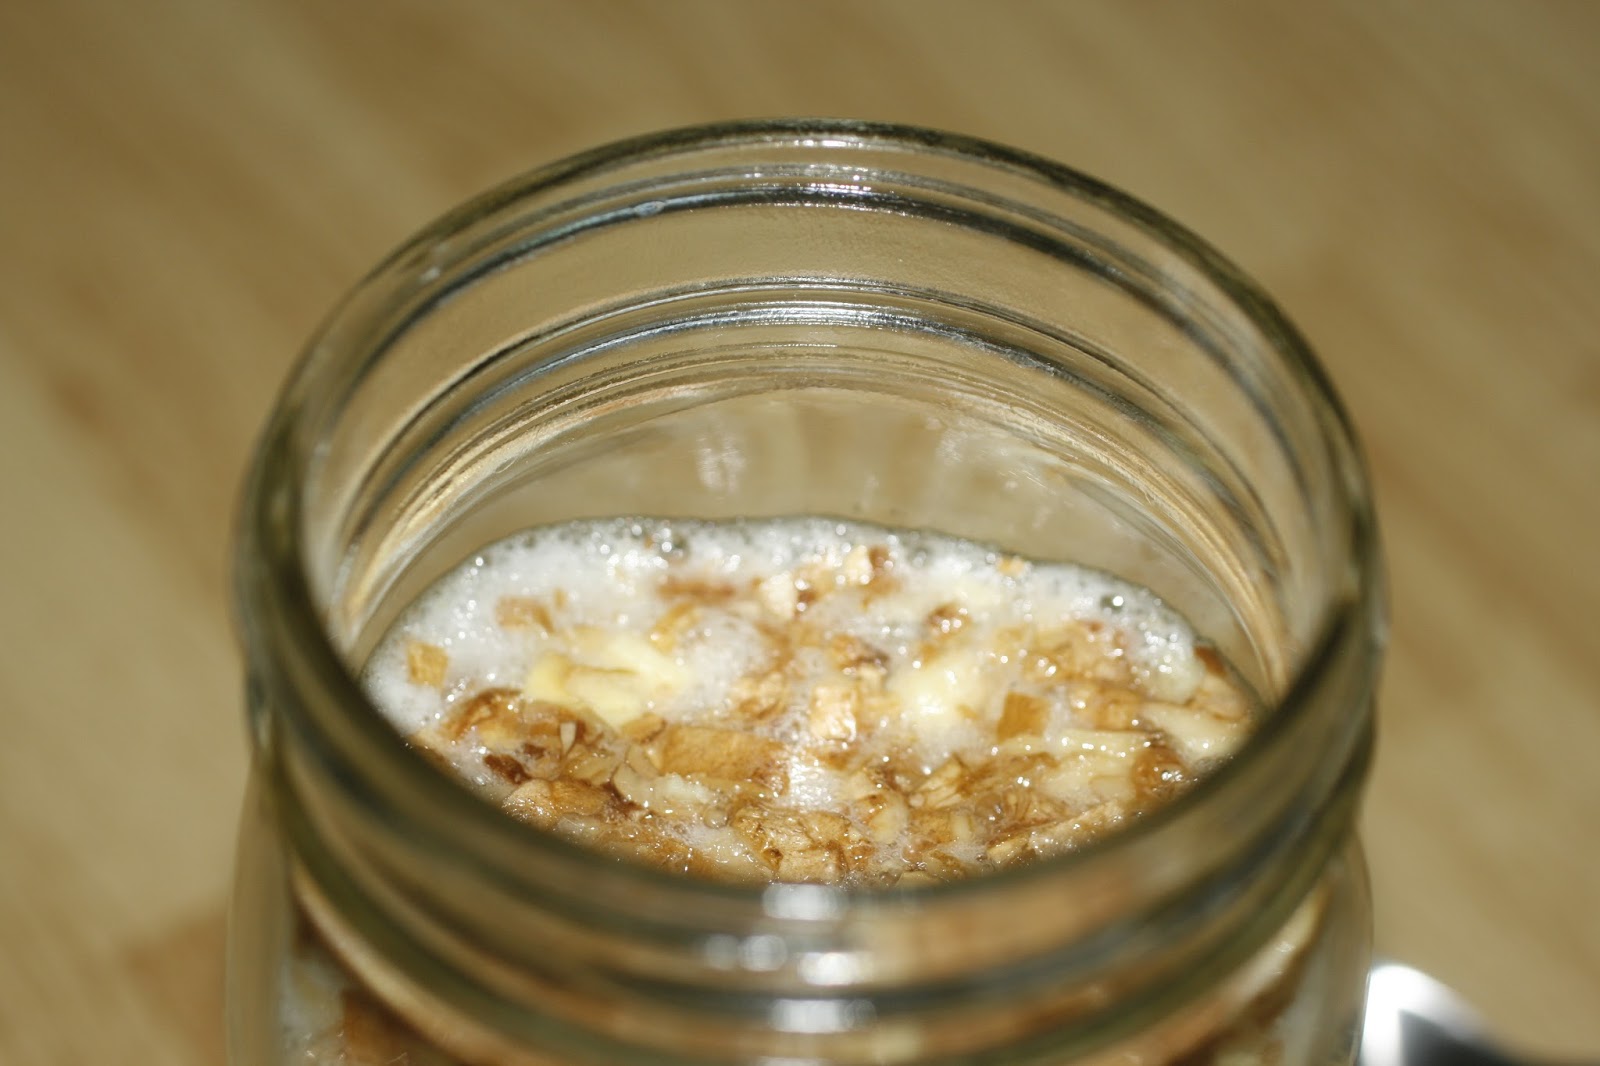
Should turn nice and bubbly like this after a couple days.
Homemade Ginger Ale
You will need
2 1/2 oz fresh ginger, grated
1 1/2 cups sugar
1-2 Tbs. lemon juice
1 gallon filtered water
1 1/2 cups ginger bug
Directions
1. Pour half the gallon of water into a large pot. Add in the grated ginger and bring to a boil. Cover and reduce heat. Simmer for 30 minutes.
2. Stir in the 1 1/2 cups sugar. Remove from heat and add the lemon juice. Mix well and then taste your concoction. Keep in mind it's very concentrated at this point. You want it very gingery.
3. Okay, at this point get out your biggest pitcher. Or, a gallon one will do. I don't have a full gallon so I use two pitchers.
Also, if you pour really hot water into cold glass you can shatter the pitcher, so to prevent this, place a knife or some metal object inside. I've never shattered one, but probably better be safe than sorry.
4. Strain the ginger mixture through a sieve to remove the ginger pieces. Pour it into your pitcher(s). Fill up the pitcher with the remainder of the filtered water. Leave a little head room for the ginger bug and stirring.
5. Now cover the pitcher with a cloth and rubber band and allow it to cool down to room temperature before adding in the ginger bug. You don't want to kill that hard earned little fella!
6. Once the liquid is cool, stir in the ginger bug. Stir well. Cover it back up and now we're back on the ol' stir 2-3 times a day.
7. You will now be watching it again for bubbles. Usually it takes about 1-3 days to be ready. More or less depending on the strength of the bug or the temperature of the room. Keep in mind that the longer the liquid ferments the stronger it will taste.
8. Once you see and hear bubbles before you stir, it is ready to bottle up. The bottles you use are up to you, however it seems that the smaller the bottle the better the carbonation build up.
I've used quart jars, pint jars, and re-used glass tea bottles. Someday I would love to buy actual beer bottles. Whatever bottle you choose, just make sure it seals tightly otherwise you will lose that hard-earned carbonation!!!
9. When you fill your bottles, make sure to leave a little head space so there is a place for the carbonation to go. Otherwise you might have an explosion. I've never had a problem with this, but I've heard some folks have had a bottle shatter.
10. Allow the bottles to sit on your counter for about a day to let the carbonation build. Two days if your house is cooler.
11. Now store you ginger ale in the fridge and drink to your health! Tastes delicious over ice. Okay, truth be told, the taste might be a little weird at first. The first time I tried it was a bit of a shock but now I love it. Another one of those healthy things that needs a little getting used to. But it's so worth it. Pretty sure this is the good soda pop that is meant to help you when you're sick. Give it a try!
*Notes:
Do be careful when you open these right from the fridge. Open slowly until you can gauge how much fizz is in the bottle. I've had a few mason jars pop really loud. Makes me jump every time!
Also, I'm still trying to figure out why some bottles have a ton of fizz and others not so much. Is it the amount of airspace you leave? If you have any thoughts, let me know! Lacto-fermentation is definitely an art and a science...and a whole lot of fun.
Lastly, these do not store indefinitely in the fridge. Slowly they are still fermenting so the longer you leave them in there the stronger they will taste. I've had mine in the fridge for 2 weeks at most and they have still tasted delicious. Just a heads up!
