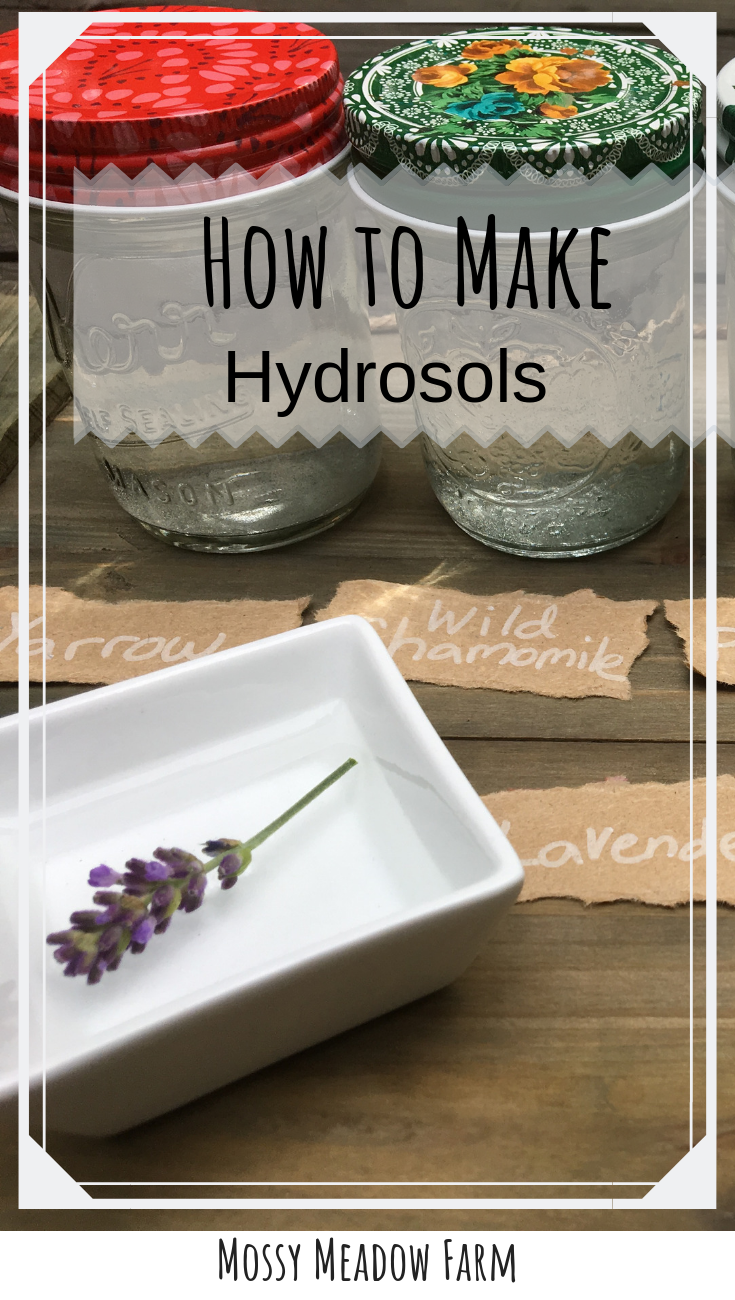
Hydrosol Series Part 2 | How to Make a Hydrosol at Home

This is part 2 of a 3 part series on hydrosols. To check out the other two posts, click below.
Part 1) What is a hydrosol
Part 3) How to use hydrosols
I am BACK to show you how to make your very own cheater version of hydrosols with no special equipment. Although, if you become addicted to making them like I have you may have to put a copper still on your Christmas wish list so you can make the real deal.😊 My husband has been properly warned...But for now, this version will work.
I will walk you through step by step how to make any type of hydrosol your heart desires. Just be sure and do a little research before you start to make sure the plant matter you choose to use is appropriate for hydrosol use. Or, experiment at your own risk and let me know what you try!
I've also created a video for you on how to make hydrosols. It's not quite as in depth as this article, but you can check it out below!
What Plants Can I Use?
If you use essential oils, then you have a great answer right there. Because technically speaking, remember from Part 1 that hydrosols are a BY-product of essential oils. So any plant that can be turned into an essential oil also will create a hydrosol.
I would imagine, however, that you could test out different plants that are NOT essential oils and see what happens. Just make sure you know your plant is safe to use!!
Some of my personal favorites so far to make have been:
Wild Chamomile (which is what I'm using in these pictures)
Labrador Tea
Peppermint
Wild Rose
Where to Get Your Fresh Plants
For me it only makes sense to forage for the plants you want to turn into hydrosols. I gather them from around my yard and out in nature. Occasionally I'll have enough of something (say peppermint) growing in my garden that I will use.
Wherever you choose to gather your plants from please remember:
Make absolutely SURE you are gathering the correct plant. Identification is HUGE!
Also make absolutely sure that the place you are gathering from hasn't been sprayed with any chemicals.
Please harvest responsibly. Do not over harvest one area. Spread the love so the plants can continue to thrive, flourish, and sustain themselves and you for years to come.
All right! Let's get started!
How to make a hydrosol
You will need:
Fresh plant material (roughly 2-4 quarts is generally sufficient)
1 large stock pot with the lid
1 small glass bowl
1 flat rock (or a second glass bowl)
Filtered water (nothing chlorinated!)
Ice cubes
Glass container for storing your hydrosol
Step 1)
Thoroughly wash all the equipment you will be using with hot soapy water. This is a very important step so you're not introducing any bacteria that will make the hydrosol go bad. This means, yes, even wash the flat rock!
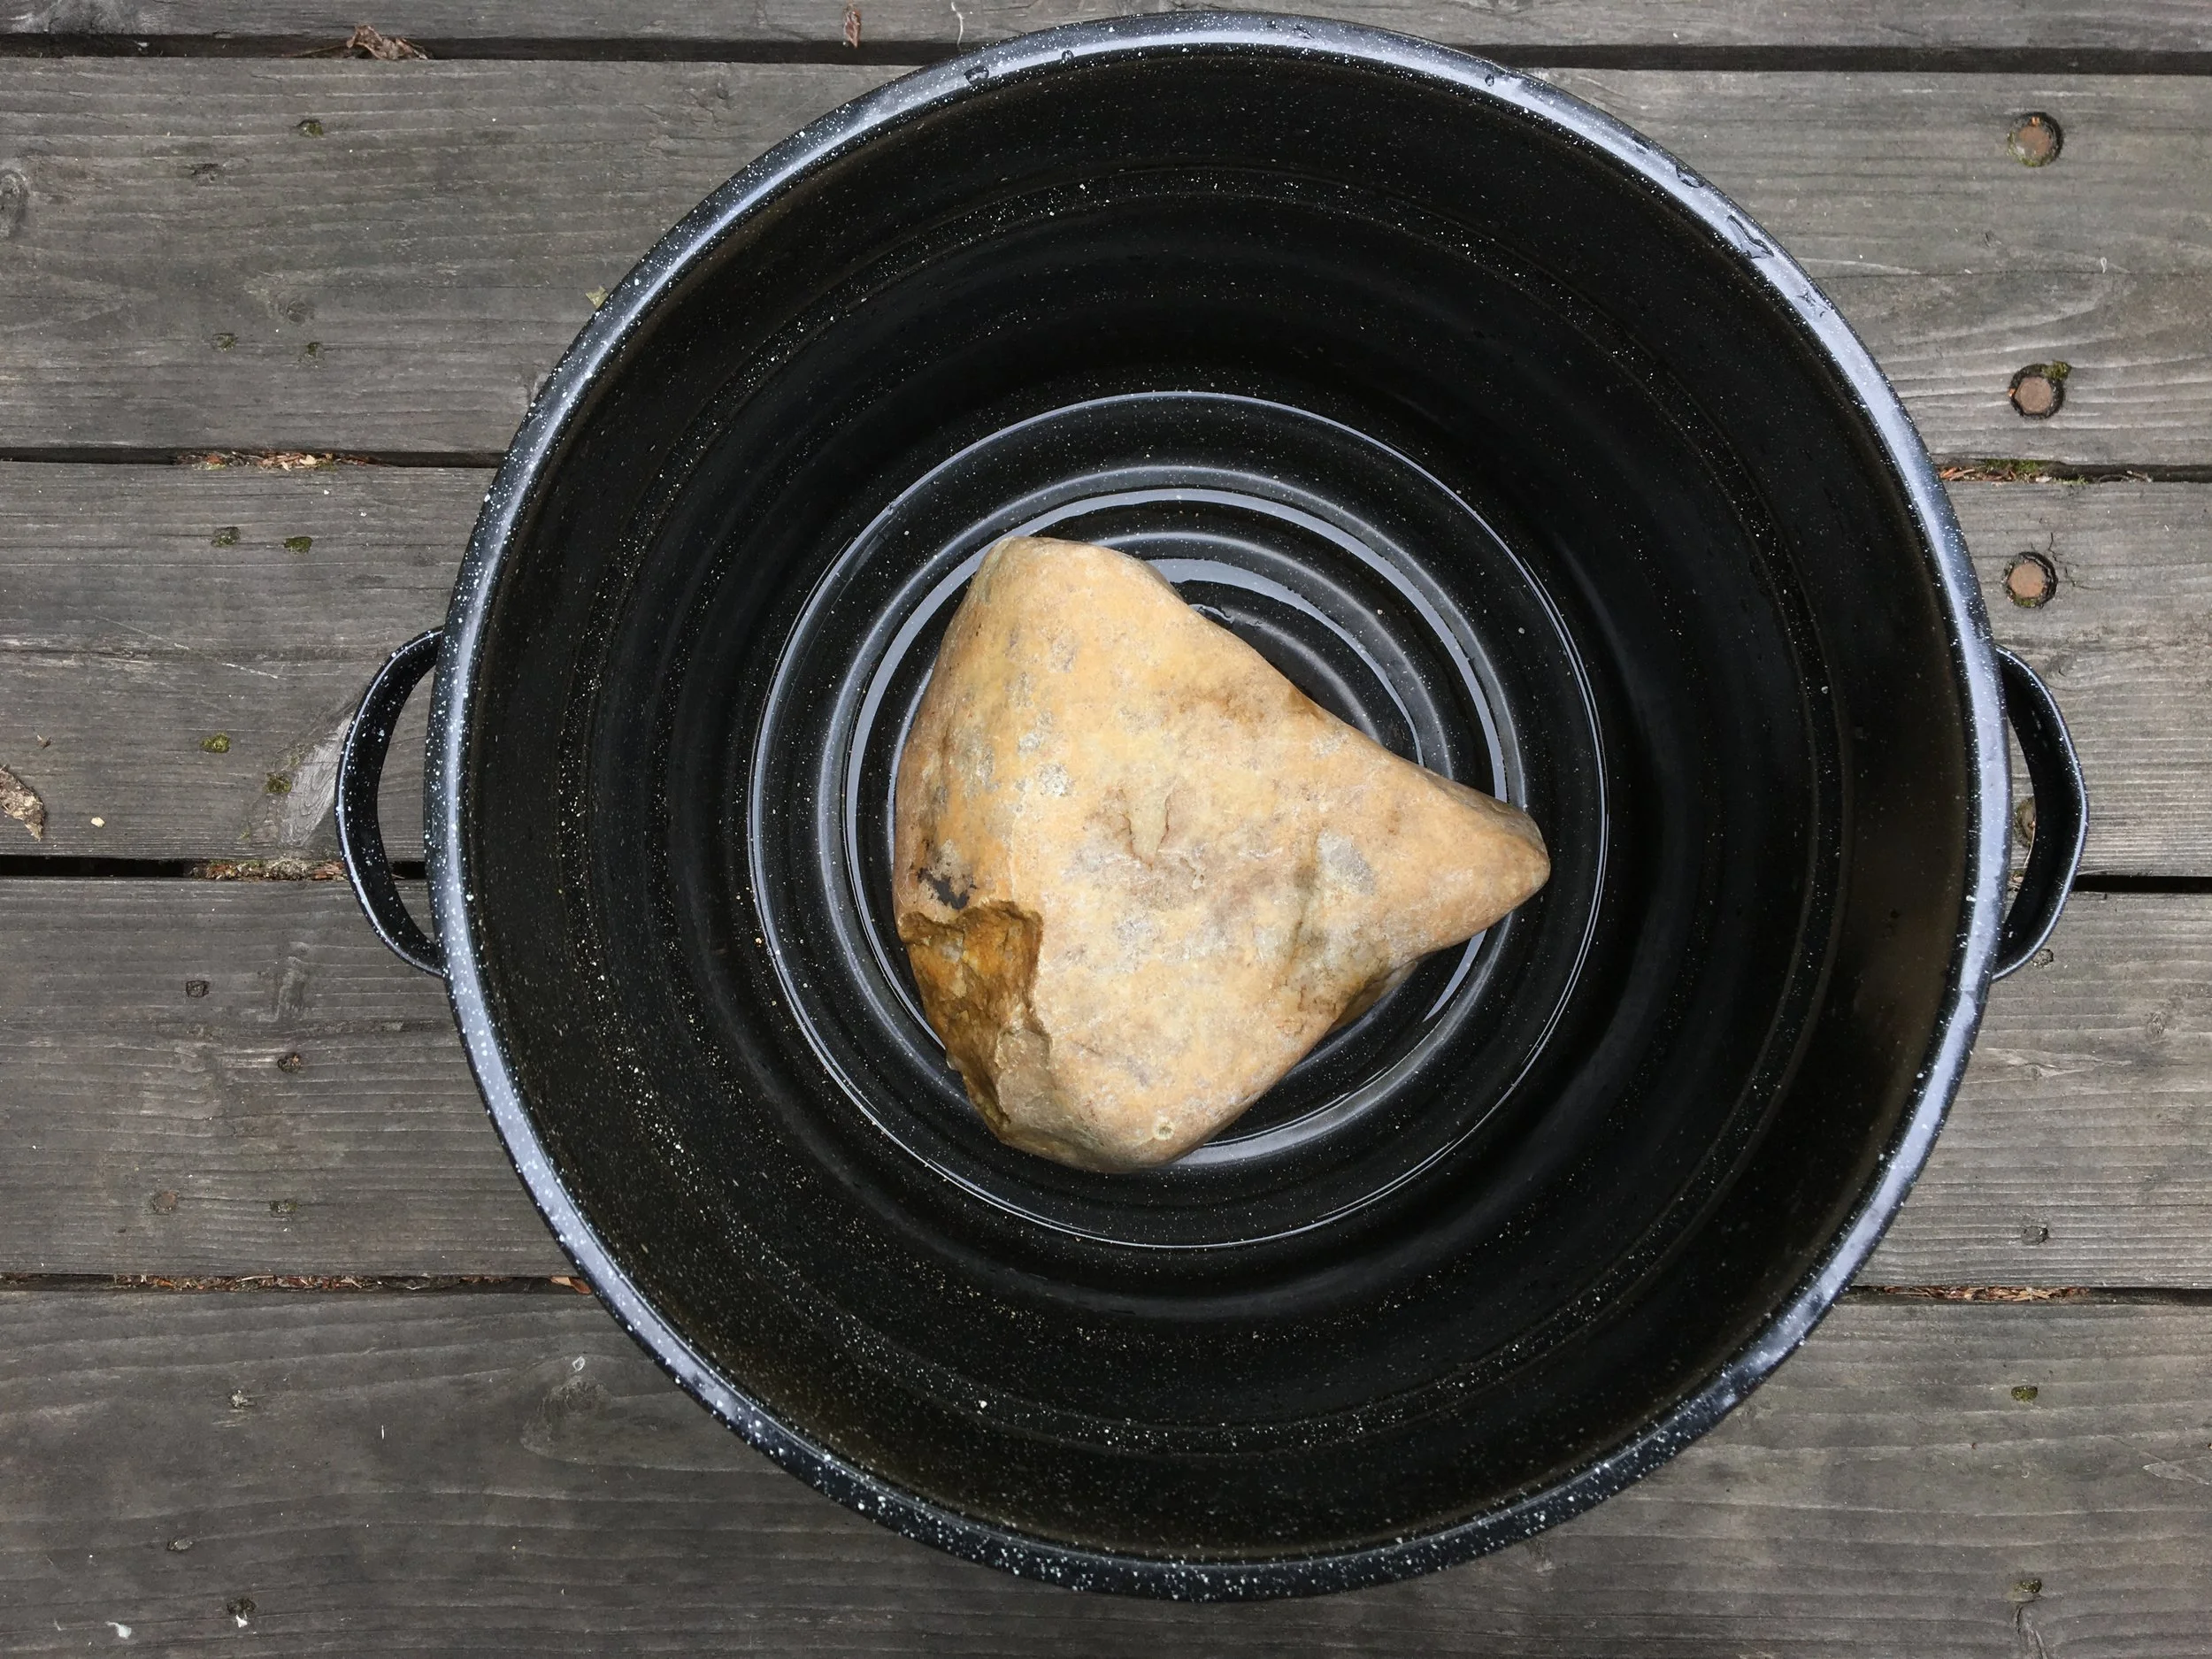
Step 2)
Place the large stock pot on the stove. Place the flat rock inside the pot so it's stable.
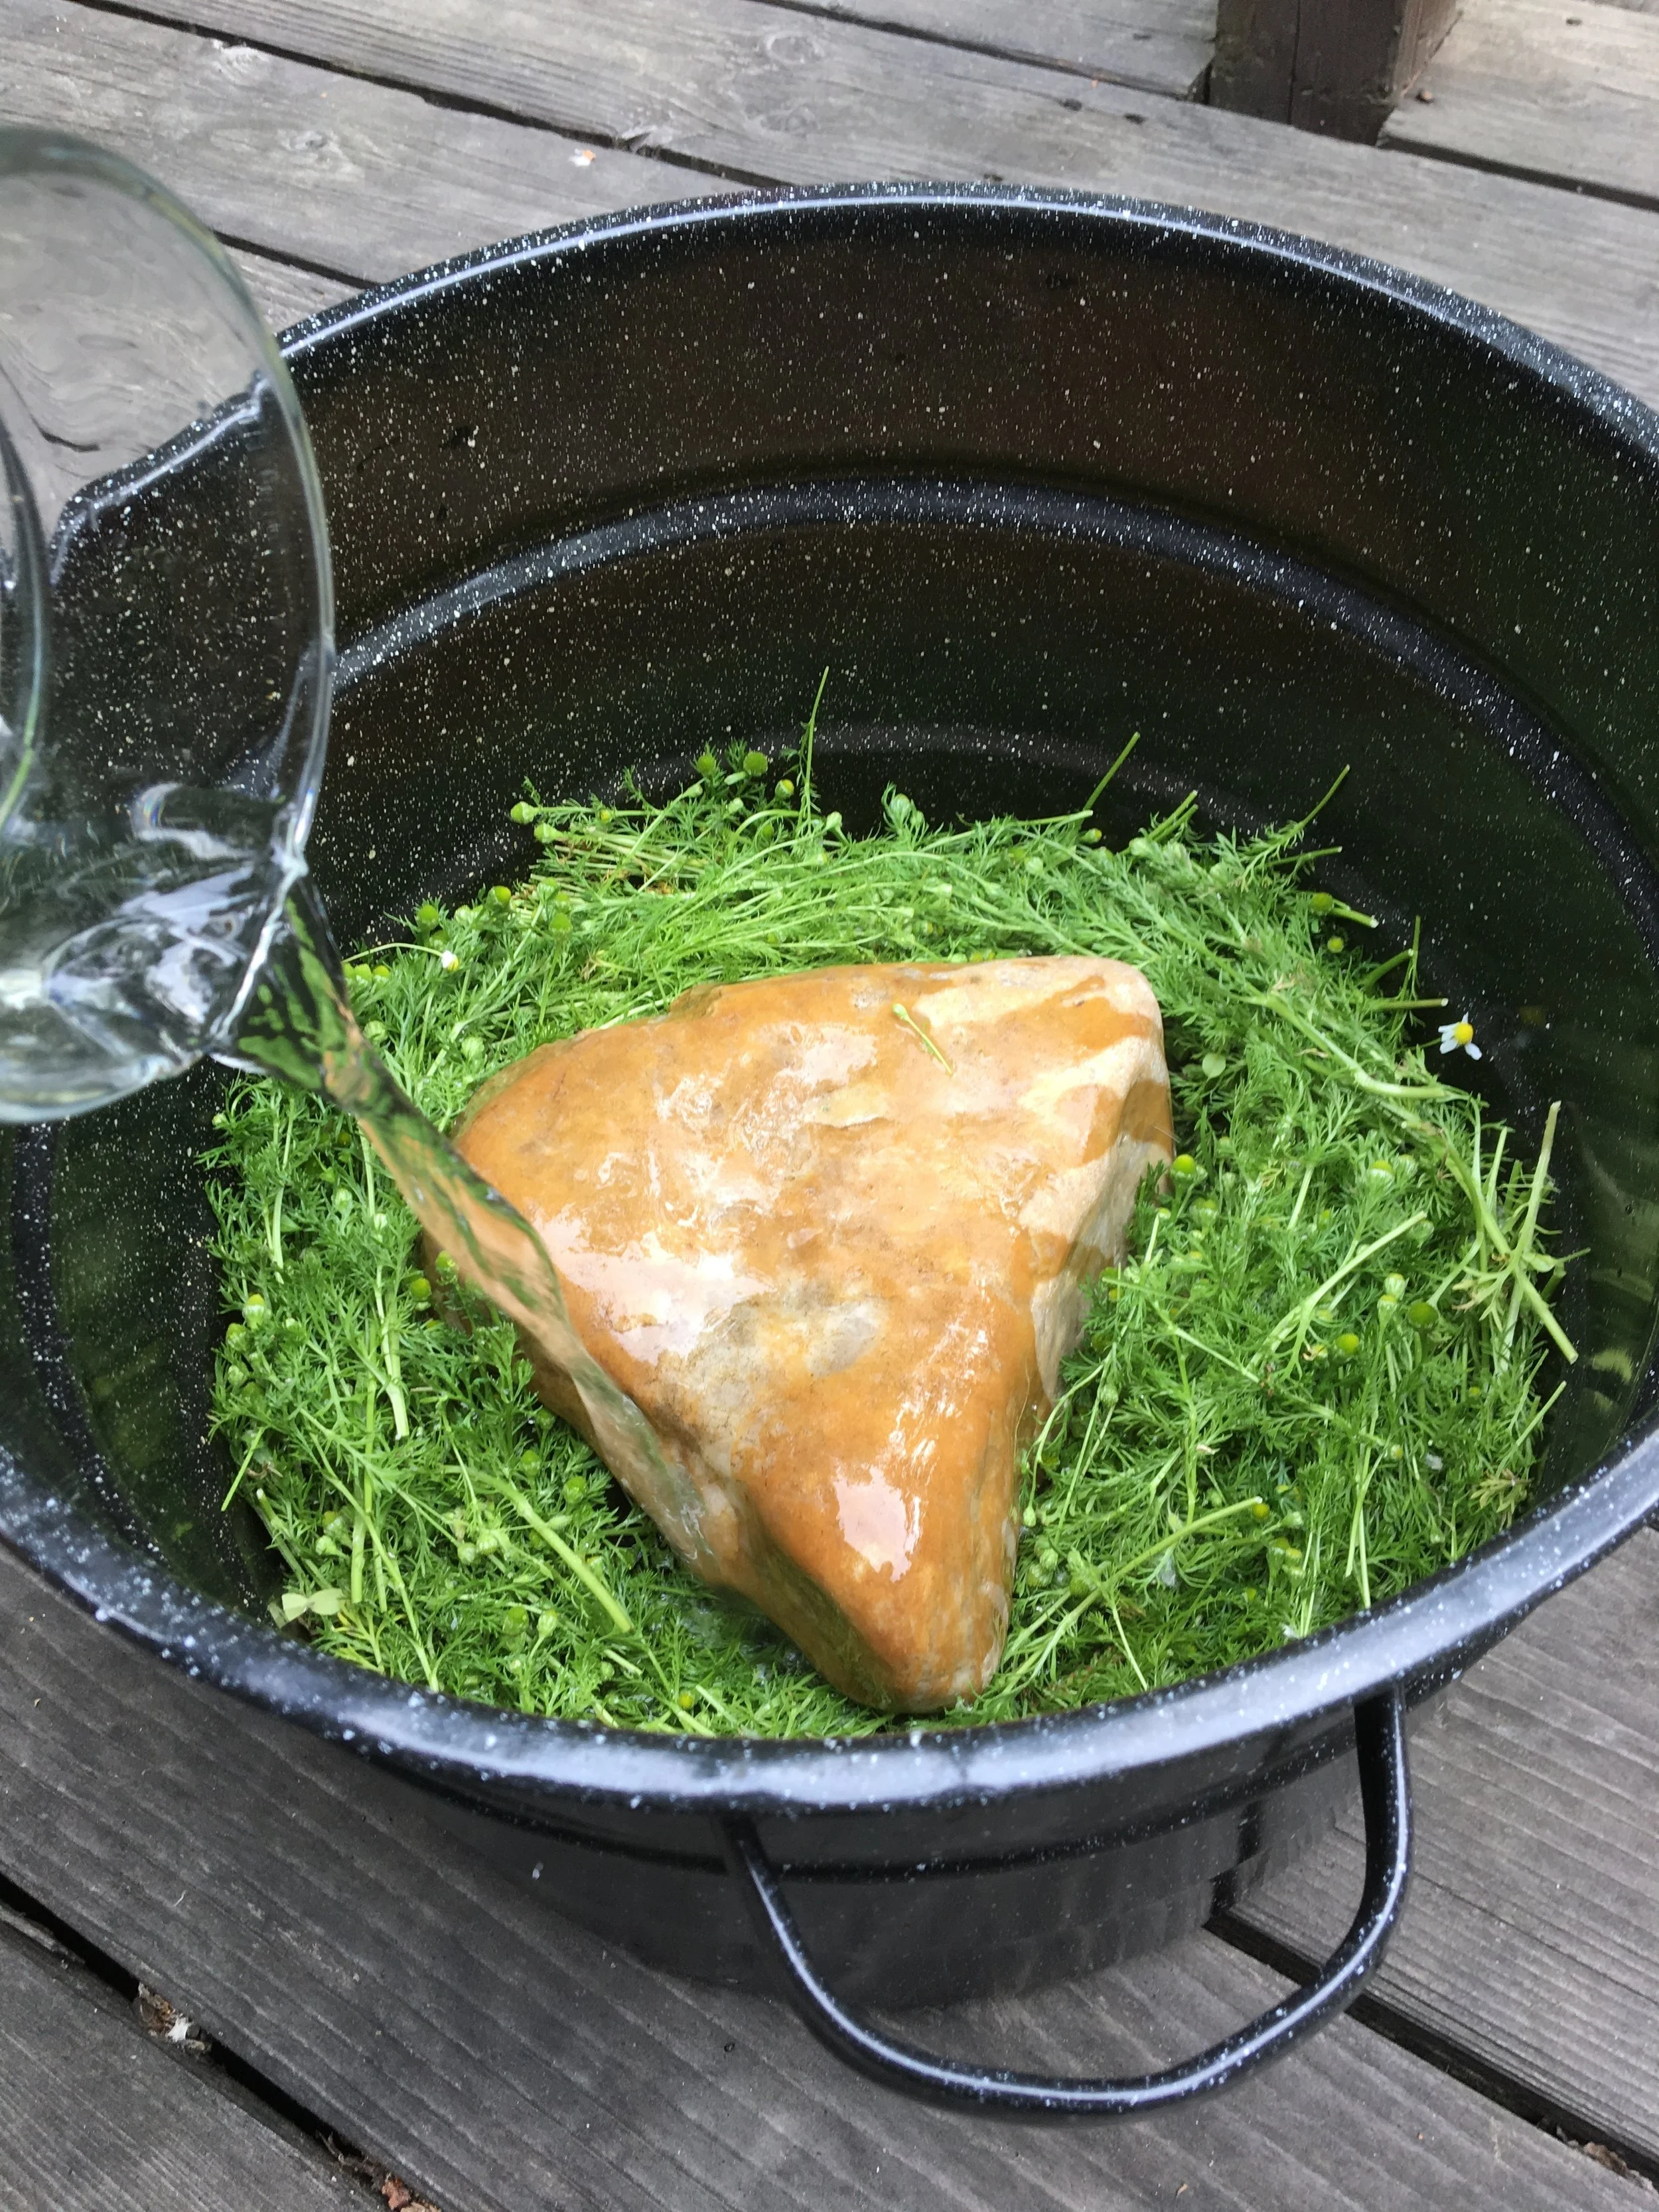
Step 3)
Place your plant material all around the outside of the rock. Then pour your filtered water over the plant material until it is just covered. There really is no exact measurement. You just want enough to cover the plants with maybe just a touch extra.
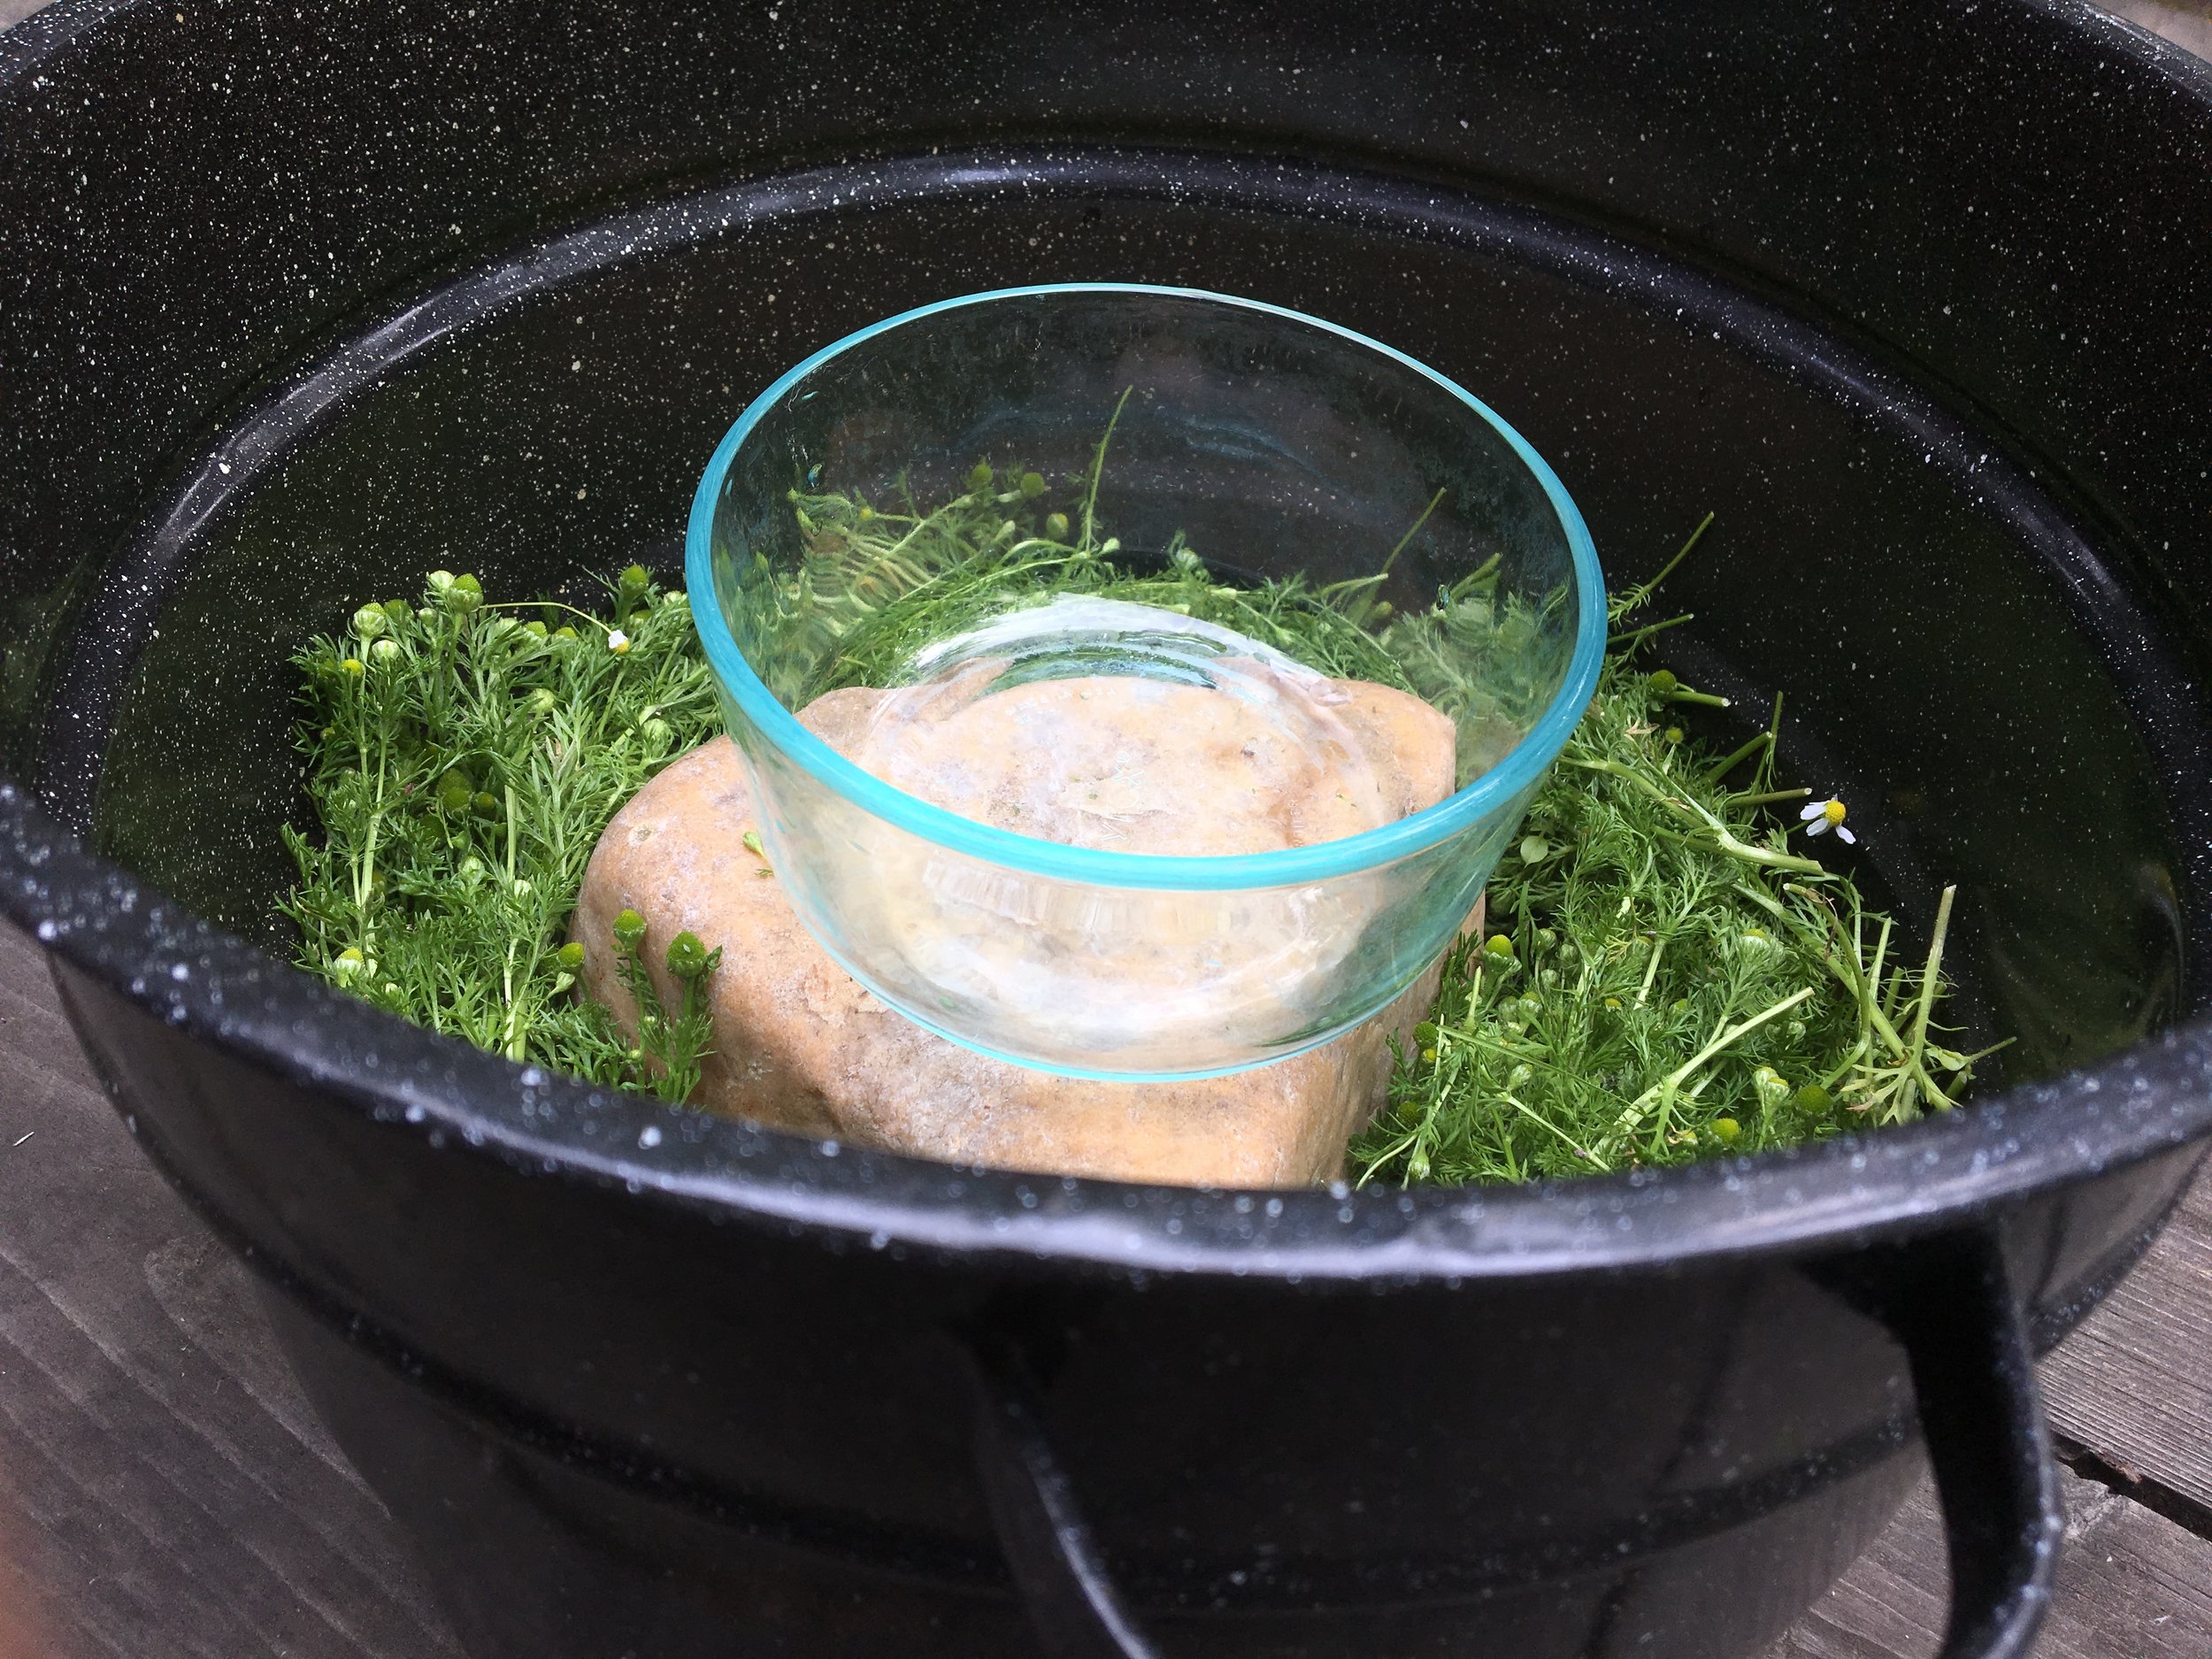
Step 4)
Then you will set the small glass bowl on top of the rock. ALTERNATIVELY if you can't find a good rock, simply invert a bowl and set the other one on top of it.
Step 5)
Finally, you will take the stock pot lid and place it on the pot UPSIDE DOWN. Place the ice on top of the lid and turn the heat on medium low.
*The ice on the lid helps the steam to condense on the handle which will then drip down into your bowl creating the hydrosol.

Step 6)
Allow this to simmer for a couple hours. You will want to keep an eye on the ice, and replenish as necessary, pouring off the ice that has melted. Also take an occasional peek inside the pot to make sure you have enough water. If it looks a little low, add some more.
Your hydrosol is done when your little glass bowl is filled, or you feel like you've gotten all you want, OR when you're just sick of watching it. HA!
Step 7)
Once you do have all the hydrosol you want, or can get from that batch, turn off the heat. Allow it to cool a little and then carefully remove the bowl full of hydrosol. And that's it! Congratulations on making a hydrosol! Not too hard, huh?

Storing Your Hydrosol
Again, refer back to Part 1 of this series, but hydrosols are much different than essential oils and that becomes very apparent in how you store them. They have a relatively short life, and must be kept in the fridge. They can grow mold, so if you see little gray floaters, discard the entire batch and make some fresh stuff. I've had my hydrosols stay good for about a year as long as I keep them in the fridge and everything was properly sanitized.
Personally I store mine in clean mason jars with lids. Don't forget to label them, cuz they do look like water!!! Put the date you made them and the plant material used.
The less you open the jar of hydrosol the better, as it lessens the chance of introducing bad bacteria.
Next part in this series will focus on how to use your hydrosols. Get ready for some more fun!
Tips and Tricks for Success
In the video you will notice that I use two glass bowls instead of the rock. I switched to the rock, because I found that the water would get sucked up into the bowl. This meant that I would have to add a bunch of extra water and it made me feel like I was diluting the plant material too much.
Wash, wash, wash! Keep everything nice and clean so not to introduce bad bacteria.
My one exception to washing is the plant material itself. I only give that a quick rinse just to get bugs off.
I'm an impatient person, so initially when I turn the heat on I do actually turn it on medium high just to heat the water quicker. Then I reduce the heat to medium low and keep it on a simmer.
I would absolutely love to hear what hydrosols you've created and what you think of them!!